ATTN: Please use the ordinary Outlook tutorial instead - unless you are sure you want to use an email alias doing email setup or have been directed to this guide by our support staff.
Note: This tutorial is written for Outlook (classic) and not Outlook (new), which is a stripped-down alternative.
- Click on the start-icon in Windows and search for "control panel" to open it.
Note: Please make sure to open "Control Panel," as newer versions of Windows also have other entries for settings.

2. Select "View by: Large icons" in the right side.

3. Click on "Mail (Microsoft Outlook 2016)".
ATTN: "2016" may figure even if you're running a newer version of Outlook.

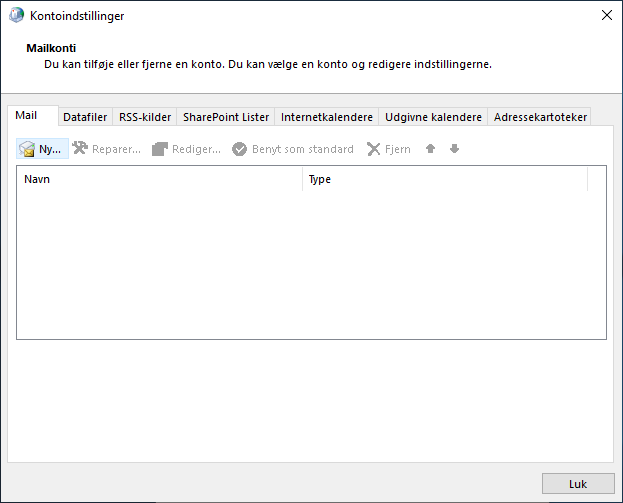
4. Click on "Email Accounts..."

5. Click on "New..."
6. Mark "Manual setup or additional server types" and click on "Next".

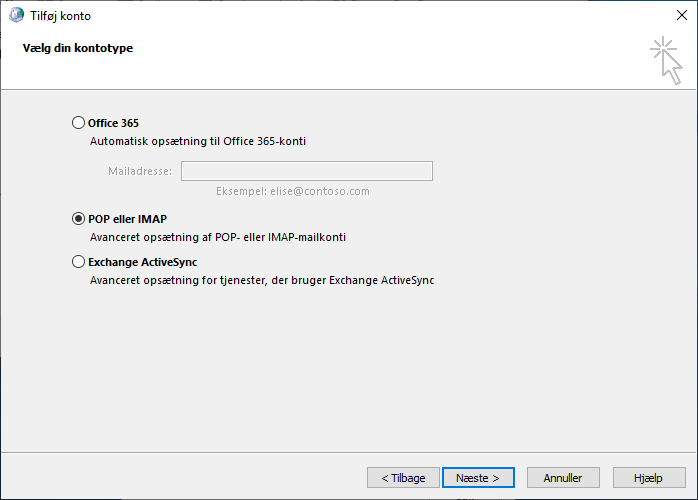
7. Mark "POP or IMAP" and click on "Next".
8. Specify:
User information:
Your name: The name as is should be displayed when sending out emails.
Email Address: Address as is should be displayed when sending out emails. (eg. an alias).
Server Information:
Account Type: IMAP
Server for incoming mail: mail.your-domain.dk
Server for outgoing mail (SMTP): mail.your-domain.dk
Logon Information:
Username : The proper username of your email address
Password: Password of the email account
Mark checkbox "Remember password"
- then click "More Settings..."

9. Click on the "Server for outgoing mail" tab and mark the fields:
"My outgoing server (SMTP) requires authentication" and
"Use same settings as my incoming mail server".

10. Click on the "Advanced" tab and specify:
Server for incoming mail (IMAP): 993
Use the following type of encrypted connection: SSL/TLS
Server for outgoing mail (SMTP): 465
Use the following type of encrypted connection: SSL/TLS
Then click "OK".

11. Click on "Next".

12. Click on "Finish". Your account is now configured and ready to use.


